

When you’re getting ready to start your studio, for music recording, podcasting or voice-over recordings, the acoustically treating of the environment is an important factor. Making an Acoustic Panel Though you can get professional acoustic studio panels, they are quite pricey.
Creating your own acoustic panels is a great option if you are on a budget. But, you must realize the task can be tough and time-consuming. If you are not of the do-it-yourself type, then buying pre-made studio acoustic panels is going to be your best option.
Why Acoustic Wall Panels?
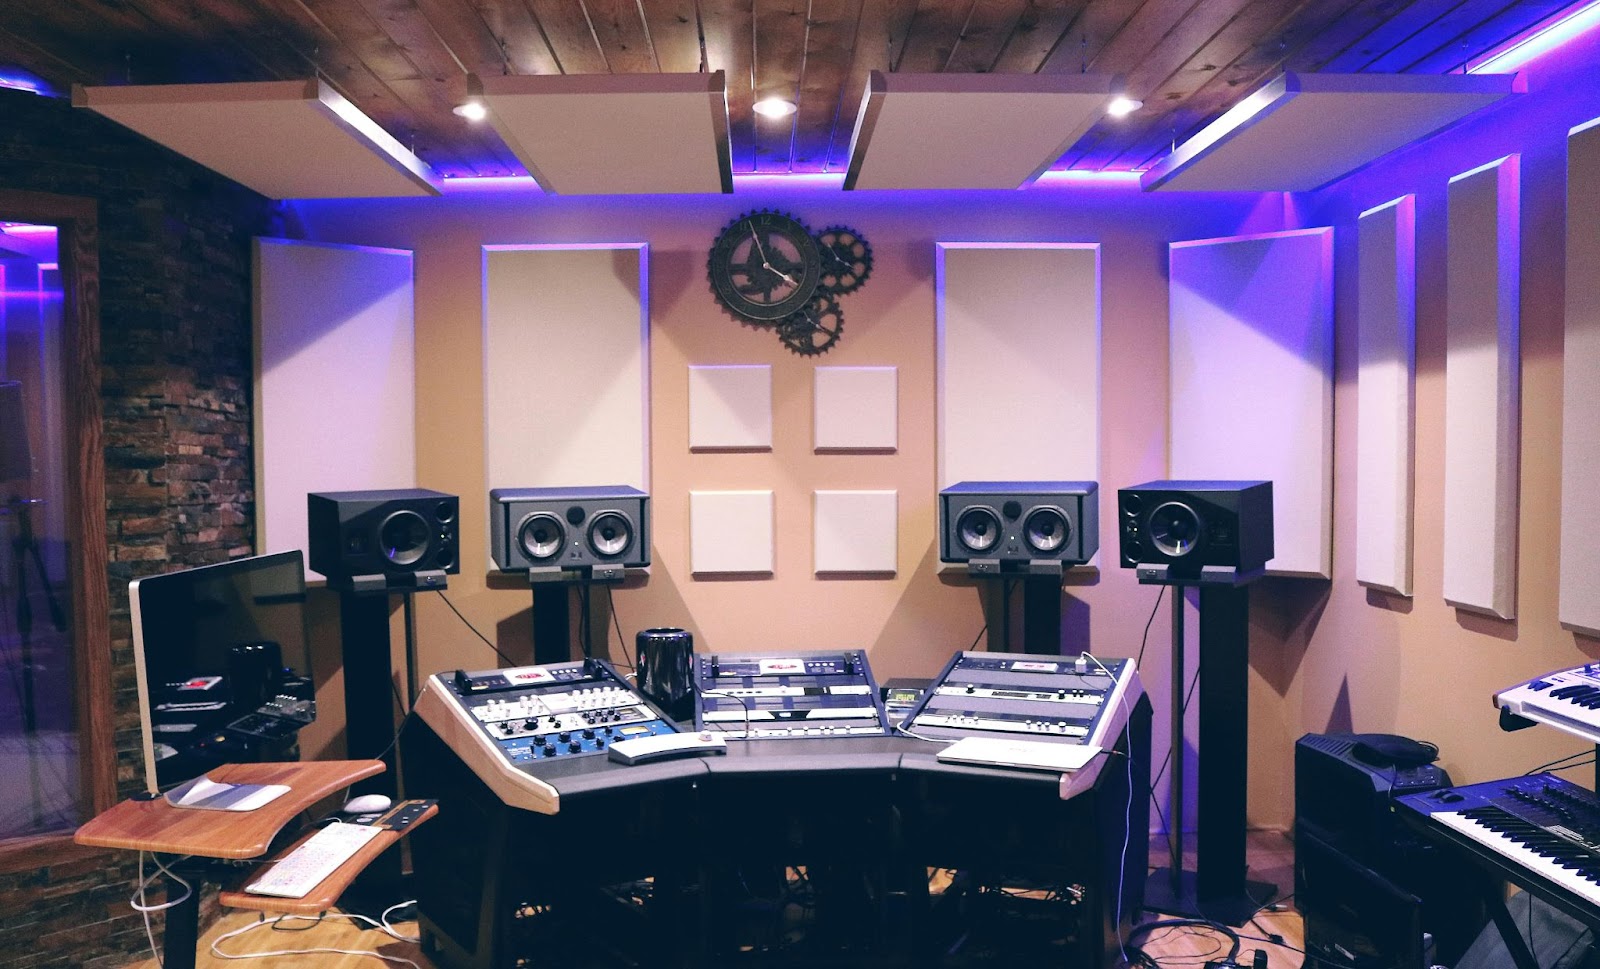
Acoustic wall panels are one of the most crucial tools for handling sound reflections and echoes within a room, such as a recording studio room and home studio. They assist in creating a more balanced and professional-sounding environment by absorbing unwanted noise. This is crucial for achieving clear recordings and accurate sound reproduction.
Materials Needed
- Wood for Frames: Typically, 1×4 or 2×4 pieces of wood.
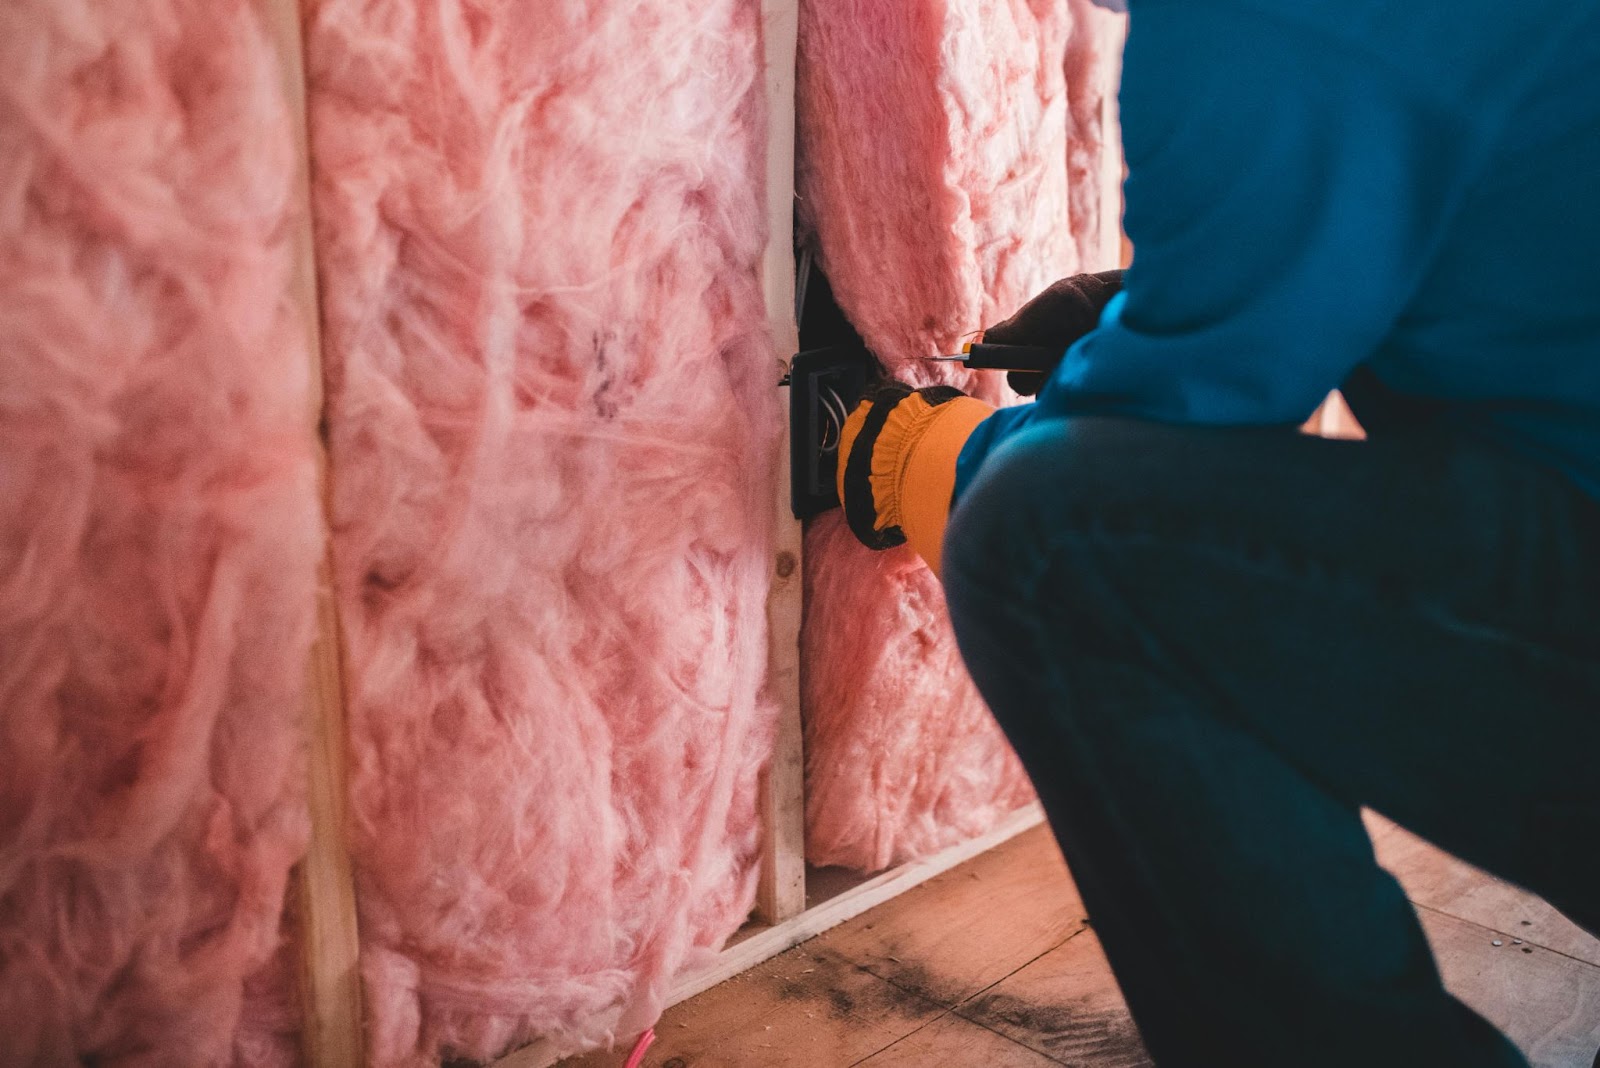
- Insulation Material: Rockwool or Owens Corning 703 are popular choices due to their excellent sound absorption properties.
- Fabric: A breathable fabric like burlap or acoustic fabric to cover the panels.
- Staples and Staple Gun: For securing the fabric to the frame.
- Screws and Drill: To assemble the wood frame.
- Mounting Hardware: For hanging the panels on walls.
Step-by-Step Guide
Cut the Wood to Size First, measure the size you want your panels to be. Most sizes are 2×4 feet. In this example, the wood is cut to fit a wooden frame.
Build the Frame: Screw and drill the cuts you made earlier together to create a rectangle frame. Ensure the joints are secure.
Step 2: Insulate it Up Pick the right insulation material, cut the pieces to fit into each of your frame slots equally well. The Rockwool or Owens-Corning 703 work great for this; it’s excellent sound absorption.
STEP 2: The fabricWrapping in the Fabric: Spread out your fabricWith Frame along with insulation on Top. Stretch and staple the fabric over the frame on the back side. Make sure there no wrinkles or give.
Problems DIY Acoustic Panels Address
Precision and a Touch of Skill: It takes some precision and a bit of carpentry skill to build really good acoustic panels. Well designed panels will only work if they are well constructed and poor construction could lead to the panel not performing like it should.
Takes Time: The procedure is time-consuming in the event you have several panels. It involved cutting wood, building the frames, and getting all the insulation into place and… each step.
Why Buying Might Be Better
Given the complexities and potential pitfalls of DIY acoustic panels, purchasing pre-made panels can often be a more reliable and efficient choice. Here are a few reasons why:
- Consistency: Professionally manufactured panels are tested to meet specific acoustic standards, ensuring consistent performance across all units.
- Time-Saving: Buying ready-made panels saves you the considerable time and effort required to build your own, allowing you to focus on your creative work.
- Aesthetics and Durability: Store-bought panels often come with higher-quality finishes and are built to last, offering better aesthetic appeal and durability compared to homemade versions.
Conclusion
DIY your acoustic panels is a good way for save money and build a room’s acoustics, but not everything is perfect. It is a time-consuming, skilled and delicate process. If you like a hands-off approach then yes, an aesthetic quality of sound and good consistency over all the panels is a valid selling point to go for pro-made acoustic panels. This will ensure that the acoustics of your studio are optimized so you can record excellent quality sound recordings.